The Metal Fabrication Process
This article provides a generalized look at FAB402’s metal fabrication process. Every project has different needs, but we hope this gives you insight into how our shop operates and the craftsmanship involved in every step.
We take pride in delivering high-quality, handcrafted metalwork for a variety of applications. Whether you need a vehicle modification, custom railings, or another specialized metal piece, each project is built from the ground up with attention to detail.
In this article, FAB402 will walk you through the general steps involved in a custom metal fabrication project, from the first consultation to the final quality checks.
For more information or to discuss your next custom metal fabrication project, stop by the shop, give us a call, or request a quote online!
Step 1: Consultation
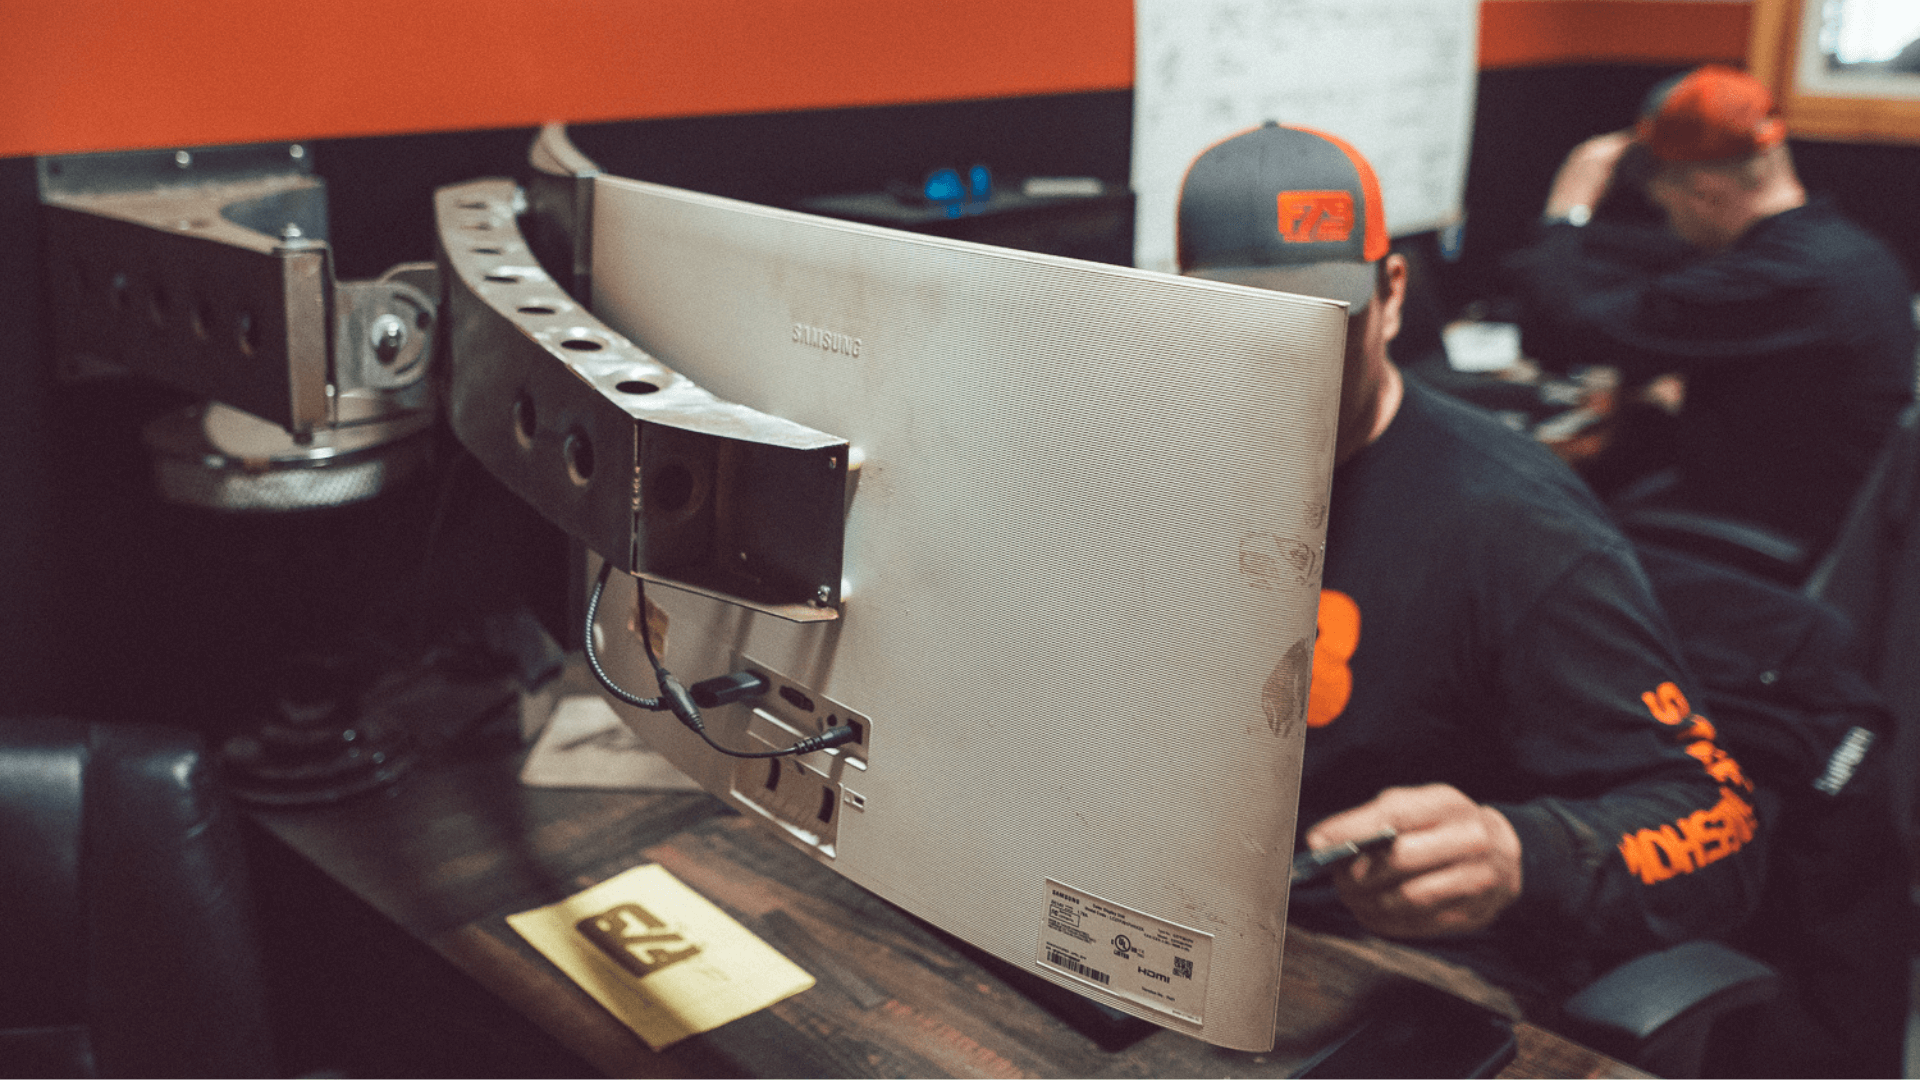
Every project starts with a conversation. When a new client reaches out to us, we begin by scheduling a consultation to discuss the project’s goals and requirements. This is our opportunity to learn about what the customer has in mind.
We will discuss specifics like the intended use of the project, any space limitations, aesthetic preferences, and more.
Brainstorming plays a critical role here. We exchange ideas, provide suggestions based on our experience, and explore all possibilities. By the end of the consultation, we should have a good understanding of the customer’s vision, budget, and timeline.
Step 2: Design
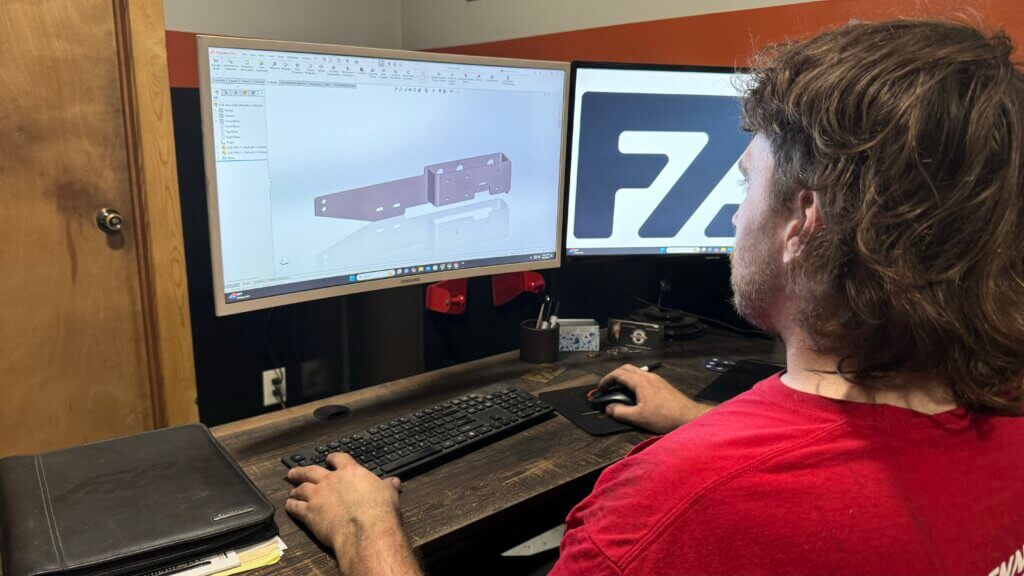
Once we have a clear idea of the customer’s needs, the design phase begins. This is where our creativity meets precision. Detailed plans are developed and 3D models are made to map out the project’s structure. These models allow both us and the customer to visualize the final product before any metal is cut.
The design phase is also where we work out technical details. We assess structural integrity, ensure that all measurements align with the space or object the piece will be integrated into, and account for the project’s aesthetics.
Once the design is approved, we move to the next phase.
Step 3: Selecting Raw Materials
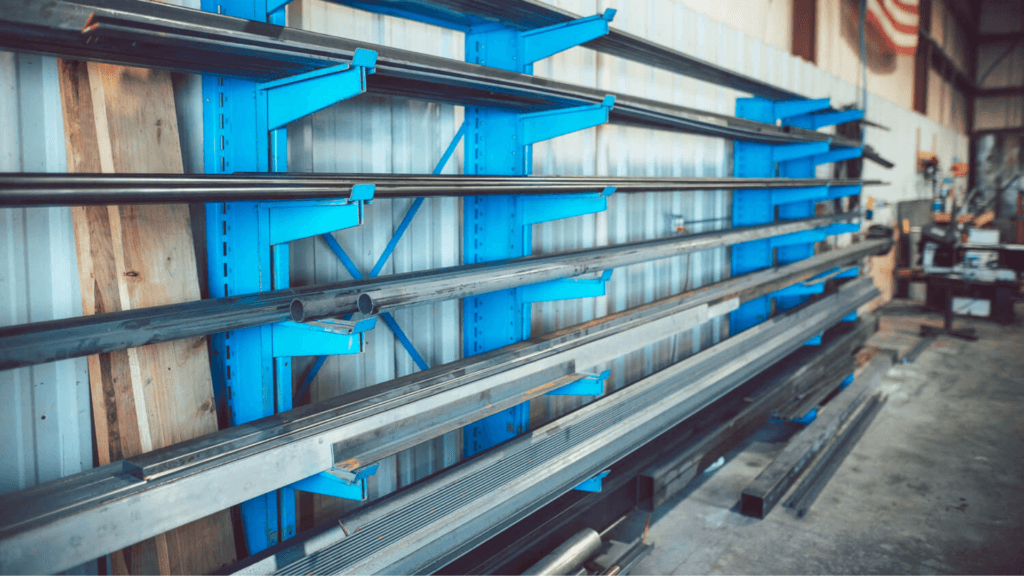
With the design finalized, it’s time to choose the materials. We offer many materials to work with including mild steel, stainless steel, aluminum and more. Each type of metal has different properties that make it suitable for specific applications.
The selection process includes considerations of durability, cost, and visual appeal. We guide our customers through the pros and cons of each material, helping them make an informed choice.
Step 4: Implementing Designs
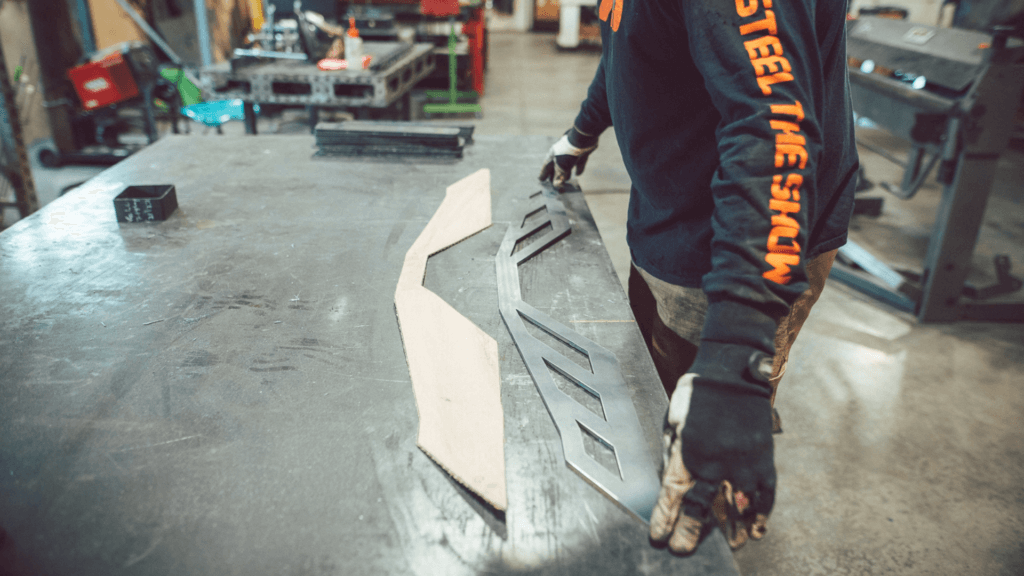
After selecting and sourcing materials, the fabrication work begins. The first step is precise measuring and marking. Using the plans and 3D models, we ensure that every dimension is accurate. Even small miscalculations can affect the final product.
This step involves transferring measurements onto the raw metal using specialized tools such as calipers, rulers, and squares to ensure precision. It is crucial to get this part right, as it lays the foundation for the entire project.
Step 5: Cutting, Bending and Shaping
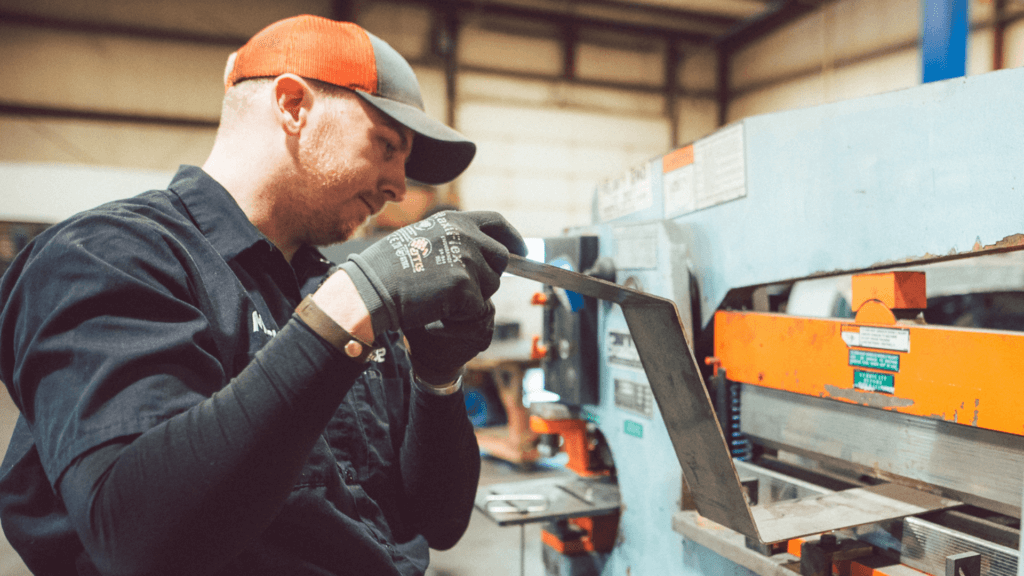
Once we’ve measured and marked the materials, we begin shaping the metal. Depending on the design, this could involve several techniques:
Cutting: Using tools like plasma cutters and saws, we cut the raw materials into the shapes and sizes needed for the project.
- Bending: To create curves or angles, we use metal benders or press brakes. The goal is to shape the material precisely without causing stress or damage to the metal.
Shaping: Sometimes, more complex shapes are required. This can involve techniques such as rolling, stamping, or forging. Each method is chosen based on the type of metal and the desired outcome.
By the end of this step, we’ve created all the individual components that will make up the final project.
Step 6: Welding
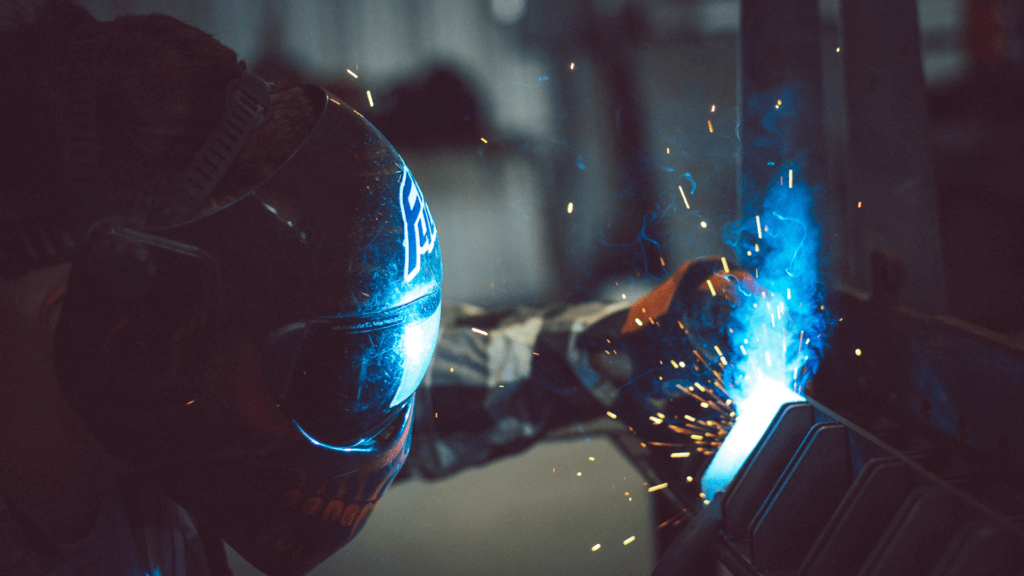
Now that we have all the individual components, it’s time to assemble them. This is done primarily through welding. Welding is the process of joining two or more pieces of metal together by melting and fusing them. Depending on the materials and project needs, we use different welding techniques, such as TIG (Tungsten Inert Gas) welding or MIG (Metal Inert Gas) welding.
During the welding process, we ensure that the joints are strong, durable, and aligned perfectly with the design. Using great attention to detail and skill to avoid warping, cracks, or weak points in the finished product.
Step 7: Finishing Touches
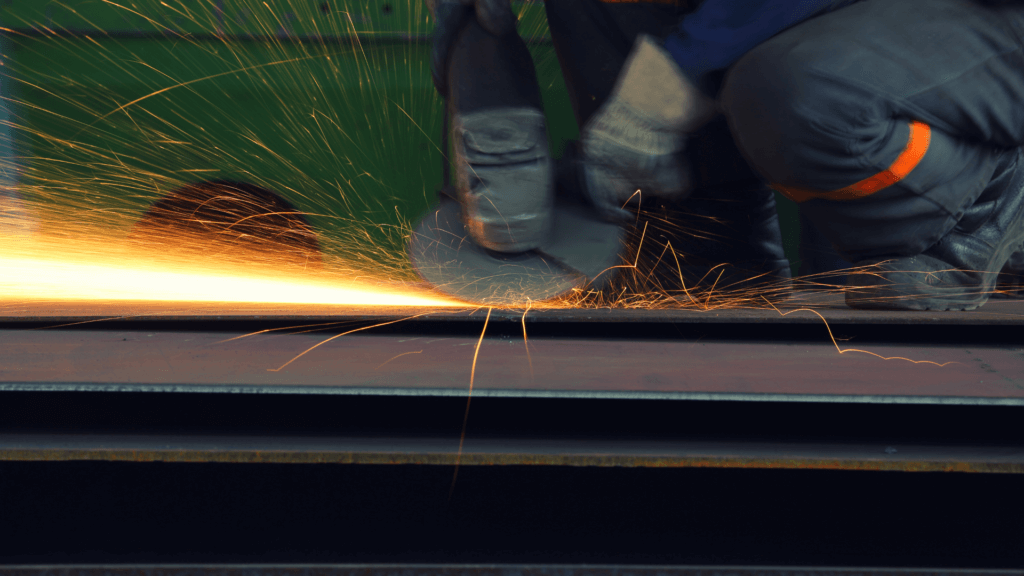
With the project fully assembled, the next step is to add the finishing touches. Depending on the project this step can involve several processes:
- Grinding and smoothing: After welding, the metal edges and seams might be rough or sharp. We use grinders to smooth down welds, edges, and surfaces to create a polished and refined look.
Metal finishing: Depending on the project and customer preference, we apply different finishes to the metal. This not only enhances the appearance but also adds protective layers that help resist corrosion or wear.
Additional elements: For some projects, additional features like lighting, custom engravings, or other decorative elements might be incorporated. Every project is different, so we ensure that we meet those specific needs at this stage.
Step 8: Quality Check
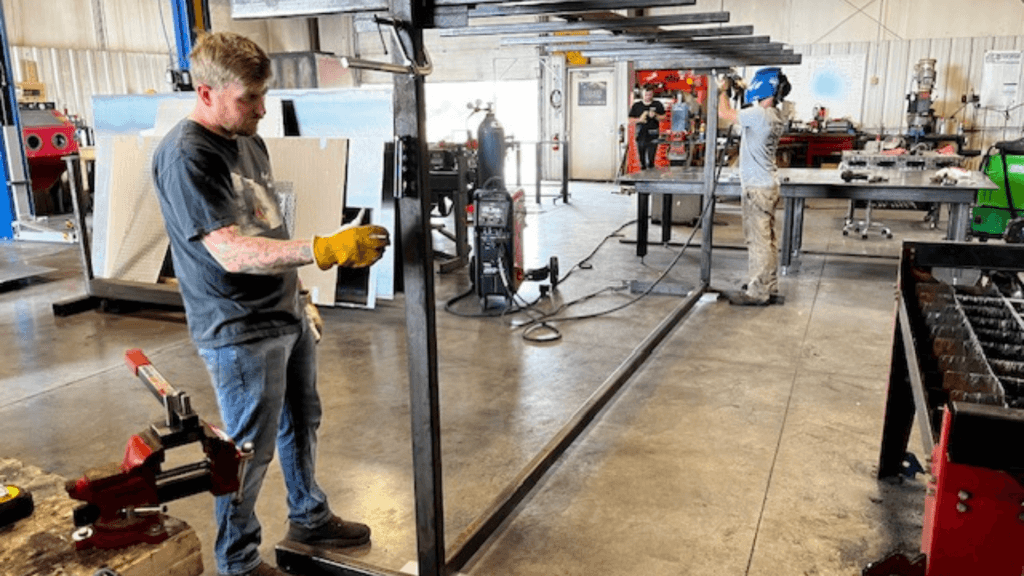
The final step of the metal fabrication process is a thorough quality check. We inspect the project for structural integrity, safety, and precision. Once the piece is deemed functional, we test its operation to ensure it meets the client’s needs.
We also review the overall aesthetics of the project to ensure that it looks as good as it performs. This quality assurance process is crucial to guarantee customer satisfaction and to ensure that the project is built to last.
